Turkey Tips For Thanksgiving
4 min read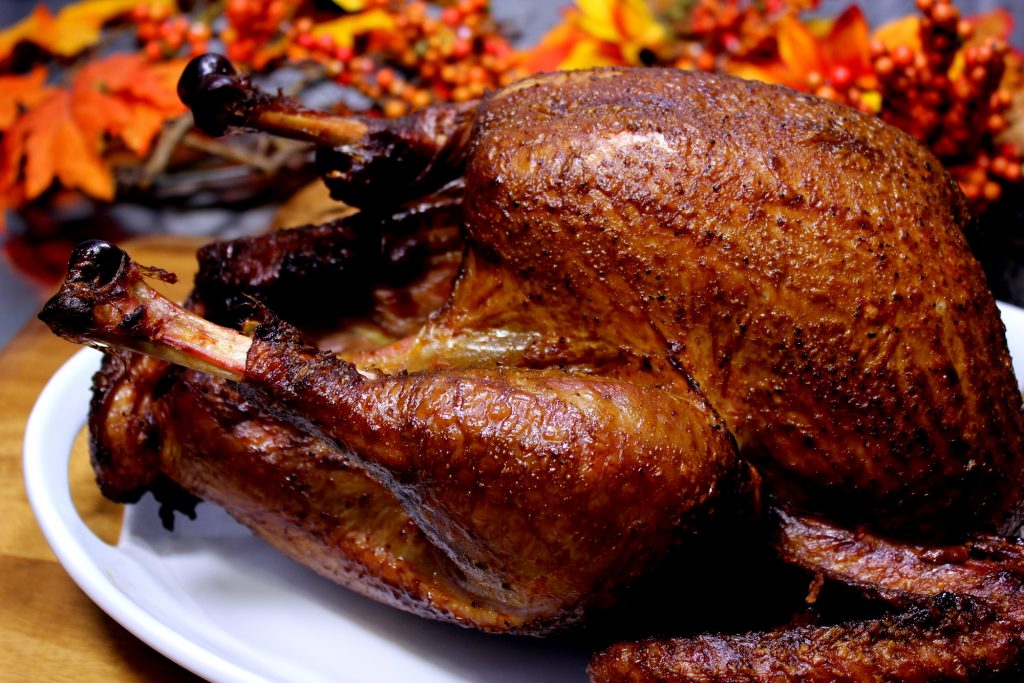
With Thanksgiving just weeks away, it’s time to start shopping for the anchor of your feast: the turkey. Here are a few things to consider when making your big decision.
Fresh vs. Frozen
Fresh turkeys are ones that have been chilled to 26 degrees and sold almost immediately after. They should be cooked one to two days after they’re purchased or, if bought in advance, stored in the coldest area of your refrigerator for up to three days.
Time-Saving Tip
If you’re strapped for time, you can defrost your turkey by submerging it (in its original packaging) in cold water, refreshing the water every 20 minutes or so. The turkey is ready to roast when it reaches about 40 to 45 degrees throughout.
Frozen turkeys are usually flash frozen to sub-zero temperatures after processing. For best results, choose a turkey without signs of frost and keep a frozen bird for only a couple of months before cooking. Defrost the turkey completely before roasting by placing it in the refrigerator in its original packaging (and, ideally, another tray or container to catch any drippings). Leave it in the refrigerator for 24 hours per every five pounds of turkey — in other words, a 15-pound turkey will take three days to defrost in the refrigerator.
Size
-
Hard- or Deep-Chilled: These turkeys have been chilled below 26 degrees. They aren’t “fresh,” but they’re not frozen, either.
-
Natural: Natural turkeys haven’t undergone much processing. Unlike organic varieties, they may still have been given antibiotics.
-
Kosher: The processing of these birds has been supervised to meet kosher standards. They are sold brined. Do not brine these turkeys or they will be very salty.
-
Basted or Self-Basting: Turkeys advertising “enhanced flavor” are self-basting. That means they’ve been injected and bloated with solutions. These birds are usually quite processed.
-
Organic: These turkeys meet the requirements to be labeled “organic”. This is based on how they’re raised and fed. They are free of hormones and chemicals and have a milder flavor than heritage or pastured turkeys.
-
Free-Range: Free-range birds are allow to roam outside for a designated amount of time each day. Their movement is less limited than those raised indoors.
-
Heritage: Heritage turkeys are direct descendants of America’s first turkeys. They’re also free-range, foraging, organically-raised and hormone- and antibiotic-free. They may lack the fat content of other varieties, but their flavor is more intense.
-
Pastured: Pastured turkeys are also allowed to roam free and forage. They arealso free of hormones and antibiotics. They have a rich flavor and firm texture like the heritage birds.
-
Wild: Turkeys labeled “wild” are raised on farms and small in size. They have a gamey flavor and lean, dry texture.
Smoke IT!
Season Your Turkey
Fire It Up!
I like to use an indirect method of smoking my turkey on the Kamado Joe as it retains all the moisture.
You can do this with some help on any grill though.
Set up a parallel fire and add water pan.
Arrange coals in a parallel configuration. Pile coals along both sides of the grill, with a water pan in the center to provide a moist environment and more consistent temperature.
Get Some Smoke On It!
Turkey meat loves smoke flavor. Add about two cups of Wood Chips with Hickory or large wood chunks. Milder fruitwoods like apple or cherry wood also work well. Replenish the smoke wood as needed, but be careful not to over smoke your turkey.
Put The Turkey Over The Water Pan
Grill your turkey with the lid on at about 350ºF. Use the vents to regulate temperature. Open vents wide to increase temperature. Close the vents to decrease temperature. Monitor the temperature regularly, adding more coals or wood chips as needed.
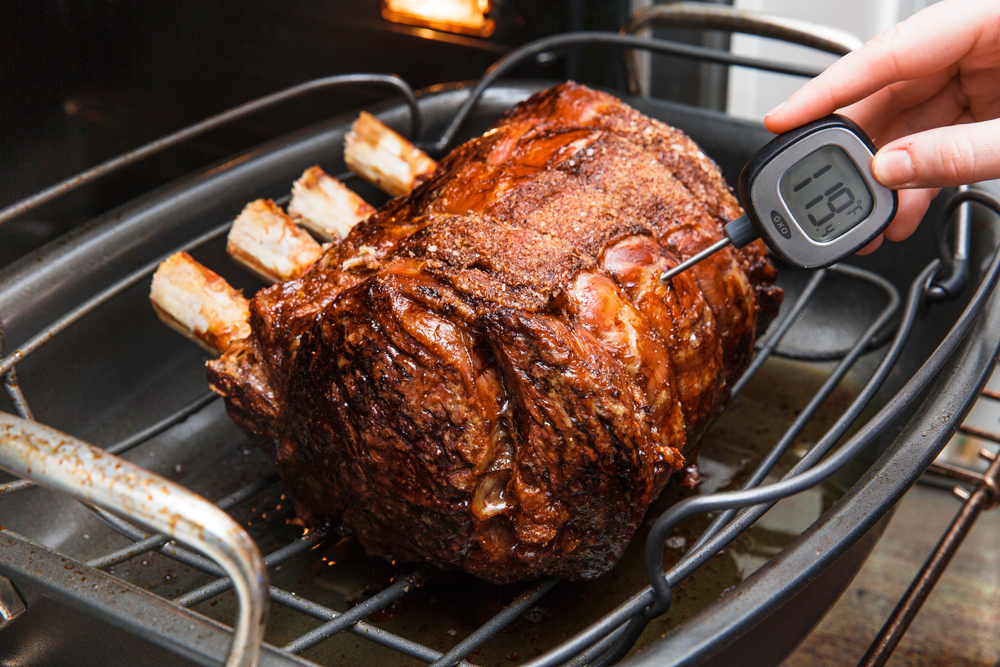
Cook To Temperature Not Time
A meat thermometer is essential for turkey. It’s done when the temperature reaches 165°F inside the thickest part of the breast or about 175°F at the thigh. In general, it will take roughly three hours to cook your turkey, depending on size.
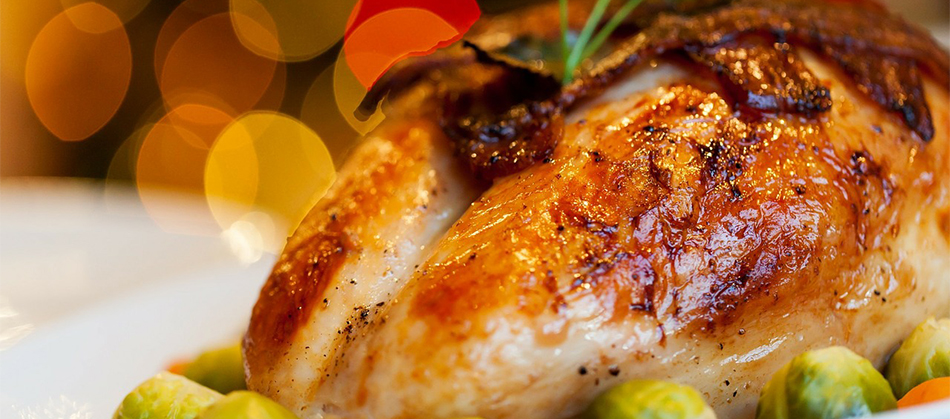
Its Dinner Time!
Once the turkey reaches the target temperature, take it off the grill, and let rest for 20 to 30 minutes before carving. This allows juices to redistribute throughout the bird.